This project has kept me busy! You see, I meet each month with a fun bunch of ladies....my Stamp Club. For this holiday season, I wanted to have them create something really different....we usually do cards and/or small 3-D projects. This year, we created this Advent Calendar.
Although I used as much as I could from Stampin'Up!, there really isn't much here. SU really does offer many fabulous products....but, in my continued effort to use much of my "stash," this is what I came up with. The focal point (inside) background of this calendar, was with 1 piece of scrapbook paper that I found in a store (non SU). Since I needed quite a few of this particular design, it was the way for me to go!
The Letter to Santa was computer generated on River Rock Cardstock, sponged and distressed. The embossing folder used was a non-SU, but it just works perfectly for that little "letter," don't you think?
This calendar came completely flat and needed to be totally assembled...we used Multi-Purpose Liquid Glue (Item #110755)....GREAT stuff! The drawers are made of chipboard and also were flat....so they needed to be painted inside and on the base and wrapped with paper. The numbers are also chipboard and were painted and added with Mini Glue Dots. All paper was added using the fabulous SU Glue Sticks....not sure what makes them so special, other than the shape, but they really are the best and worked perfectly for this project! All DSP was applied using our Glue Sticks.
I had loads of fun designing this project and all the ladies loved it.....and now we each have this wonderful keepsake to share with our families for years to come. It did involve quite a bit of time, but was so worth the effort!
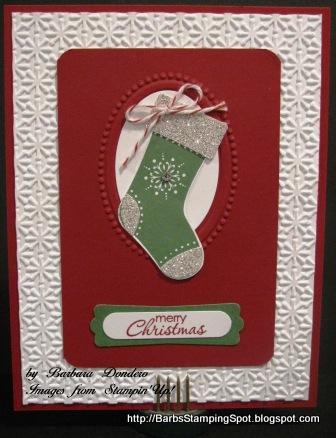
Thanks for stopping by today!
Note: No supplies listed, as much is non-SU or has been retired. If you have any questions, please feel free to contact me.